
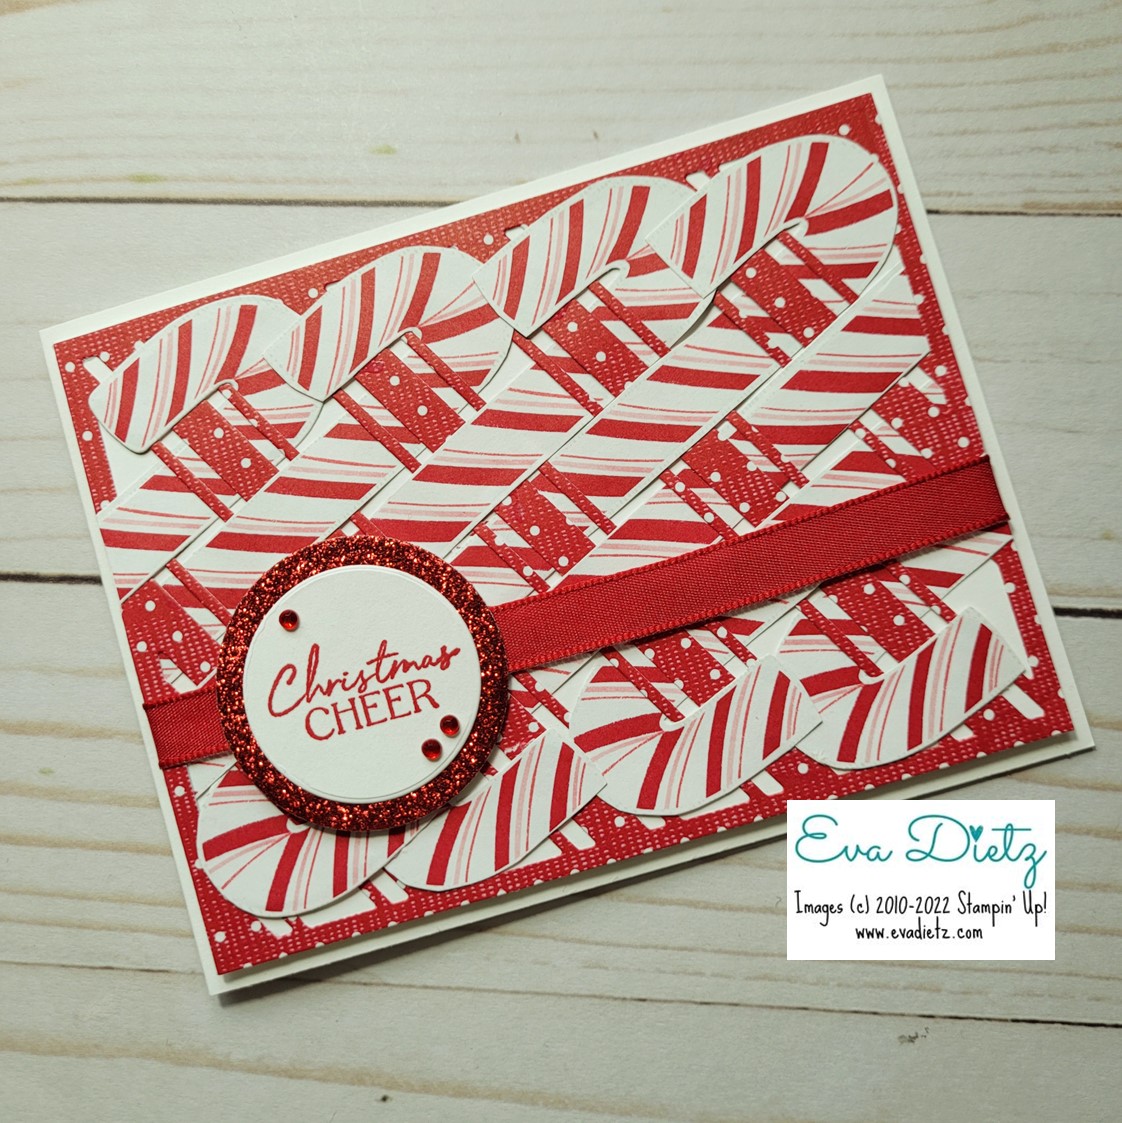
Do you remember doing weaving art projects in Elementary School? I do, and that was my inspiration for this card design. When I saw the Candy Cane Dies that came in the Bundle, I immediately thought it would be fun to try to weave the candy canes in and out of the large striped frame die cut. What worked out so nicely is you can hide the overlapping ends of the two candy canes that go in each weaving space.


Project Measurements:
Thick Basic White Cardstock 4-1/4” x 11”, scored at 5-1/2”
and cut a 2” square piece
Basic White Cardstock cut 4” x 5-1/4”
Sweetest Christmas Designer Series Paper – red polka dot 4” x
5-1/4”
Sweetest Christmas Designer Series Paper – Die cut or fussy
cut 9 “peppermint” canes
Real Red Ribbon cut 6-1/2” long piece
Real Red Glimmer Paper cut 2-1/4” square
Sweetest Christmas Designer Series Paper for envelope flap –
2-3/8” x 6”
Project Instructions:
Center the background striped die on the red polka dot 4” x 5-1/4” piece from the Sweetest Christmas Designer Series Paper. Die cut out.
Weave 8 candy canes as shown in photo, once you have the spacing how you like, use the Multipurpose Liquid Glue, and apply a dot here and there to hold the heads and ends of the candy canes in place on the red dot frame. Weave and piece two candy canes using portions of trimmed candy canes that are hanging outside the frame.
Glue the entire trimmed and woven background to the Basic White Cardstock piece. Let dry.
Wrap the 6-1/2” Real Red ribbon around the layers at 1-1/2” from the bottom edge. Secure ribbon ends on back of layer.
With Real Red ink stamp the “Christmas Cheer” greeting in the center of the Basic White 2-1/4” square. Take both Basic White square and Real Red Glimmer paper square and die cut with the two circle dies. Using the liquid glue adhere both layers together. Let dry.
With the Memento Tuxedo Black ink, stamp your choice of sentiment from the Sweet Candy Canes stamp set inside your card. Glue the final remaining candy cane inside (use photo as guide.)
Adhere your candy cane layer with Dimensionals to the Thick Basic White card base.
With Dimensionals adhere your circle tag, centering it over the ribbon.
Add three Red Rhinestones on tag with Take Your Pick Tool.
Finish by adhering matching red polka dot envelope flap piece and trim off excess.
Using the links provided below you can order the products you need to complete this fabulous card project through my online store.
No comments:
Post a Comment
Thanks for taking the time to leave me a comment! I appreciate hearing from my readers. If you have a question or anything I can help with please let me know. Have a wonderful day!