As a continuation from yesterday's blog post, here is the rest of the set of five cards I made with the Crafting with You Bundle along with the Bright & Beautiful Designer Series Paper. These couple projects will give you endless hours of crafting fun!
Card base color is new color Azure Afternoon, Bright & Beautiful Designer Series Paper with opposite side color as a thin accent strip. Cut & Emboss Machine is stamped in returning Berry Burst ink color and die cut out with the coordinating dies, then raised up on Dimensionals. Sentiment stamped in Memento Tuxedo Black Ink.
Card base color is new color Lemon Lolly, Bright & Beautiful Designer Series Paper with opposite side color as a thin accent strip. Cut & Emboss Machine is stamped in returning Berry Burst ink color and die cut out with the coordinating dies, then raised up on Dimensionals. Sentiment stamped in Memento Tuxedo Black Ink.
Card base color is returning Fresh Freesia, Bright & Beautiful Designer Series Paper with opposite side color as a thin accent strip. Cut & Emboss Machine is stamped in returning Blueberry Bushel ink color and die cut out with the coordinating dies, then raised up on Dimensionals. Sentiment stamped in Memento Tuxedo Black Ink.
EACH PHOTO IS A CLICKABLE LINK TO MY ONLINE STORE
Images © 2023 Stampin' Up!
Crafting with You Stamp Set #161219 $21.00
Images © 2023 Stampin' Up!
Images © 2023 Stampin' Up!
Crafting with You Dies #161225 $39.00
Images © 2023 Stampin' Up!
Crafting with You Bundle Set #161226 $54.00 (Save 10%)
Images © 2023 Stampin' Up!
Noow
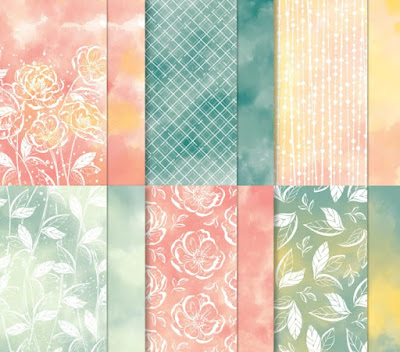
Bright & Beautiful Designer Series Paper #161449 $12.50
Now that you've seen the 5 cute cards you can make from yesterday's post and today's, here are the dimensions you'll need to create your own set or a similar set to your liking.
Card Base 5 1/2" x 8 1/2", scored at 4 1/4"
Bright & Beautiful Designer Series Paper upper piece 2 1/2" x 5 1/4"
Bright & Beautiful Designer Series Paper skinny piece 1/2" x 5 1/4"
Basic White Inner Card Layer 4" x 5 1/4"
Now that you've enjoyed yesterday's and today's Bright & Beautiful cards, which one is your favorite? Let me know in the comments below.
In case you missed yesterday's post, visit it here.
If you don't already have your own Stampin' Up! Independent Demonstrator, I'd love to be yours!
Learn how to get more done in less time by signing up for my exclusive "Insider" bi-monthly newsletter. Twice a month the news will share card class information, Stampin' Up! promotions, hot tips from me, and free tutorials! Subscribe to my Bi-Monthly Newsletter today. Plus you’ll receive a FREE 14 Card One Sheet Wonder Tutorial to download when you receive my thank you email for signing up.
Please contact me or email me at stampinwitheva@gmail.com if you have any questions about products, techniques, or card designs. Comments below are welcome too!