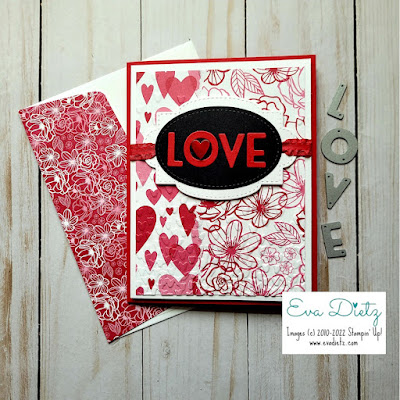
Need a Valentine? How about an Anniversary Card? Maybe even a Wedding Card? This card layout solves this problem with whatever occasion you need it for.
Even though the layout looks simple, there are some interesting techniques and tricks in this card. Let's take a closer look by viewing all the photos below.
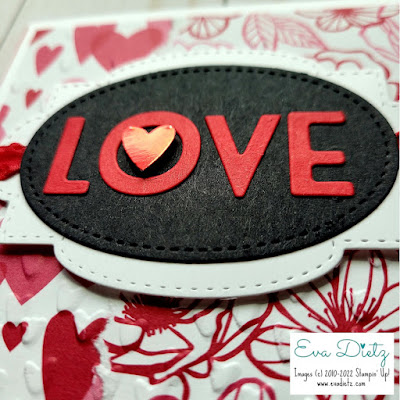
You can really spell any four-letter word with the Playful Alphabet Dies. They die cut so easy. A little liquid glue on the back and they will be dry in no time. I used a little piece of washi tape as my ruler to set the letters against as I glued on the black oval. There is also a trick of starting in the middle of your tag and working your way out to the edges. So I glued the O and V down first, then the L and E so the word would be centered in the tag.
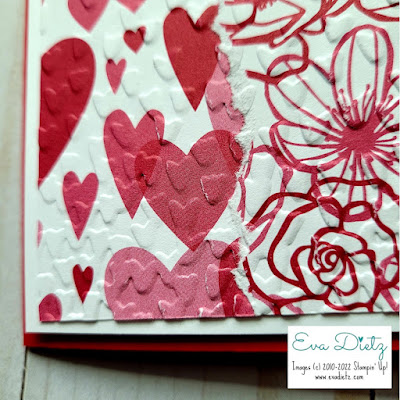
See the Details! Close up of torn edge technique, the two sides of Designer Series Paper showing, and then finishing off with the retired Falling Petals embossing folder for some texture and dimension.
Close up of the "LOVE" tag with the raised Red Foil Heart.
Using a regular hole punch, punch two holes one at each tab of the Stitched So Sweetly Dies cut from Basic White cardstock. Thread the ribbon from the back to the front then wrap the ends around the attached Designer Series Paper and Basic White layers, then scotch tape the ribbon ends to the back side before raising the double layers up with dimensionals from the card front.
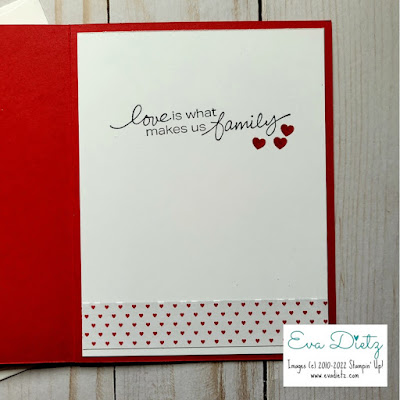
Problem Solved! I managed to stamp the greeting crooked, but I think I rescued it with the mini hearts stamped in Real Red ink to balance it all out!
Products used to create this card:
Real Red cardstock base 5-1/2" x 8-1/2", scored at 4-1/4"
2 pieces Basic White cardstock layer cut 4" x 5-1/4" (outer and inner layers) and extra for tag
Basic Black scrap for oval tag
Retired All My Love Designer Series Paper: 1 piece 3-3/4" x 5",
a second piece for the torn edge effect 2-1/4" x 5"
Retired Falling Petals embossing folder
Die Cut Machine
Retired 3/8" Real Red mini ruffled ribbon
Paper Hole punch
Retired Stitched Shape Dies
Retired Playful Alphabet Dies
Stitched So Sweetly Dies
Retired Triple Heart Punch
Retired Red Foil
Lovely You stamp set in Memento Tuxedo Black ink
Cherry Cobbler ink for the mini heart stamp (use whatever you have)
Adhesives, Paper Trimmer, Paper Snips and other Tools you like
Feel free to add a 3/4" strip of any coordinating Designer Series Paper at the inner bottom of your card.
Don't forget to cover your envelope flap too! 2-3/8" x 6" glue to
the outside of the flap and trim off the excess.
All done and ready to share with family or friends!
Don't forget to snatch up my free 14 card tutorial when you subscribe to my email list
HERE!
#stampinwitheva #stampinup


No comments:
Post a Comment
Thanks for taking the time to leave me a comment! I appreciate hearing from my readers. If you have a question or anything I can help with please let me know. Have a wonderful day!