If you are new to card making, then subscribing to a Paper Pumpkin kit is the perfect way to try out the monhtly kits without making a large investment. The bonus is if you are feeling creative you can make alternates or make the cards just like the directions say. The choice is up to you!
The February Sunshine and Smiles Paper Pumpkin kit had a lot of alternative possibilities. I cased parts of a couple cards and the rest are what I came up with using the supplies in the box plus some additional cardstock and products I had in my stamp room.
I hope you'll be inspired by these layouts!
Feminine Birthday Card
Polished Pink card base, with plaid Flirty Flamingo layer with precut oval (I cut the included card base apart.) Last fall there was a Fitting Florets Collection offer which I purchased. There was Fitting Florets Designer Series Paper from which I fussy cut some of the floral images (raised on Dimensionals) and used a piece behind the oval. The tag used the Framed Florets stamp set for the greetings, stamped in Memento Tuxedo Black Ink. Embellilshments were from the kit.
When you are fussy cutting out flowers from Designer Series Paper, always cut out the edge flowers too, because you can do something like this idea on the inner layer.
Hello Card
Using another card base cut apart, I added a piece of the A Day at the Farm Designer Series Paper that was available during the just finished Sale-a-Bration behind the Balmy Blue plaid sheet. They both were adhered to a Balmy Blue card base. I stamped "hello" on the included cloud, added the rain drop embellishments, and raised the included frog image on the opposite corner.
Cheerful Card
By cutting the rainbow card base in half vertically, I could get two pieces of rainbows to use in two different cards. The rainbow was carefully mounted behind the gray layer, on a Mango Melody card base. The rest of the cute art were all included in the kit.
Friendship Card
Using the back of one of the provided card bases, I adhered it to a Basic Gray card base. Added the green sloping piece. Then I carefully trimmed the base of the connected flowers so they would curve on the slope. Mr. Turtle was the perfect companion to finish this card.
Encouragement Tri fold Card
This tri-fold card idea was cased, but I still made it my own. One of the envelope liners was turned into one of the outer third panels, see next photo. I stamped the sun with a mask to protect the rainbow using Mango Melody ink. The attached tag was carefully glued on the small outer edges of the mango plaid paper to appear to lay on the rainbow.
On the left side is the envelope paper folded in. It has the rainbow piece on the reverse.
The attached envelope piece is on the left in this photo.
In the center you can see the back of the floating tag.
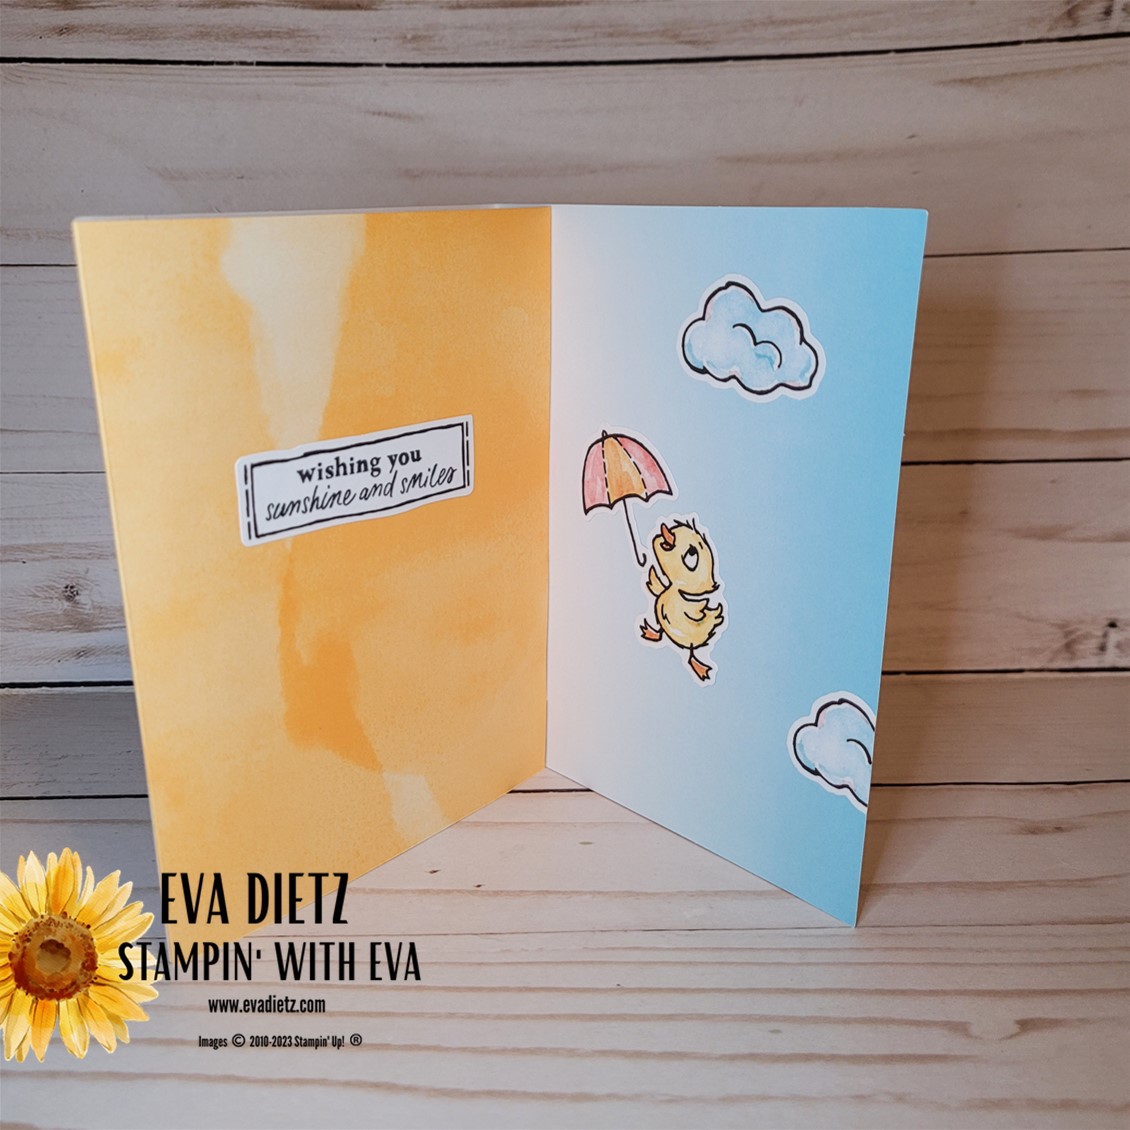
Finish the card with applying some of the included clouds creatively.
The only part that is a little wonky is the actual folding of the trifold. The envelope paper gets folded first, then the rest of the card closes around it.
If you don't already have your own Stampin' Up! Independent Demonstrator, I'd love to be yours!
Learn how to get more done in less time by signing up for my exclusive "Insider" bi-monthly newsletter. Twice a month the news will share card class information, Stampin' Up! promotions, hot tips from me, and free tutorials! Subscribe to my Bi-Monthly Newsletter today. Plus you’ll receive a FREE 14 Card One Sheet Wonder Tutorial to download when you receive my thank you email for signing up.
Please contact me or email me at stampinwitheva@gmail.com if you have any questions about products, techniques, or card designs. Comments below are welcomed too!


No comments:
Post a Comment
Thanks for taking the time to leave me a comment! I appreciate hearing from my readers. If you have a question or anything I can help with please let me know. Have a wonderful day!