
I had a lot of fun with the July Paper Pumpkin Kit and I thought I'd share my designs with you! In case you have a kit you haven't opened yet, these ideas may inspire you to break open the box and get started creating!
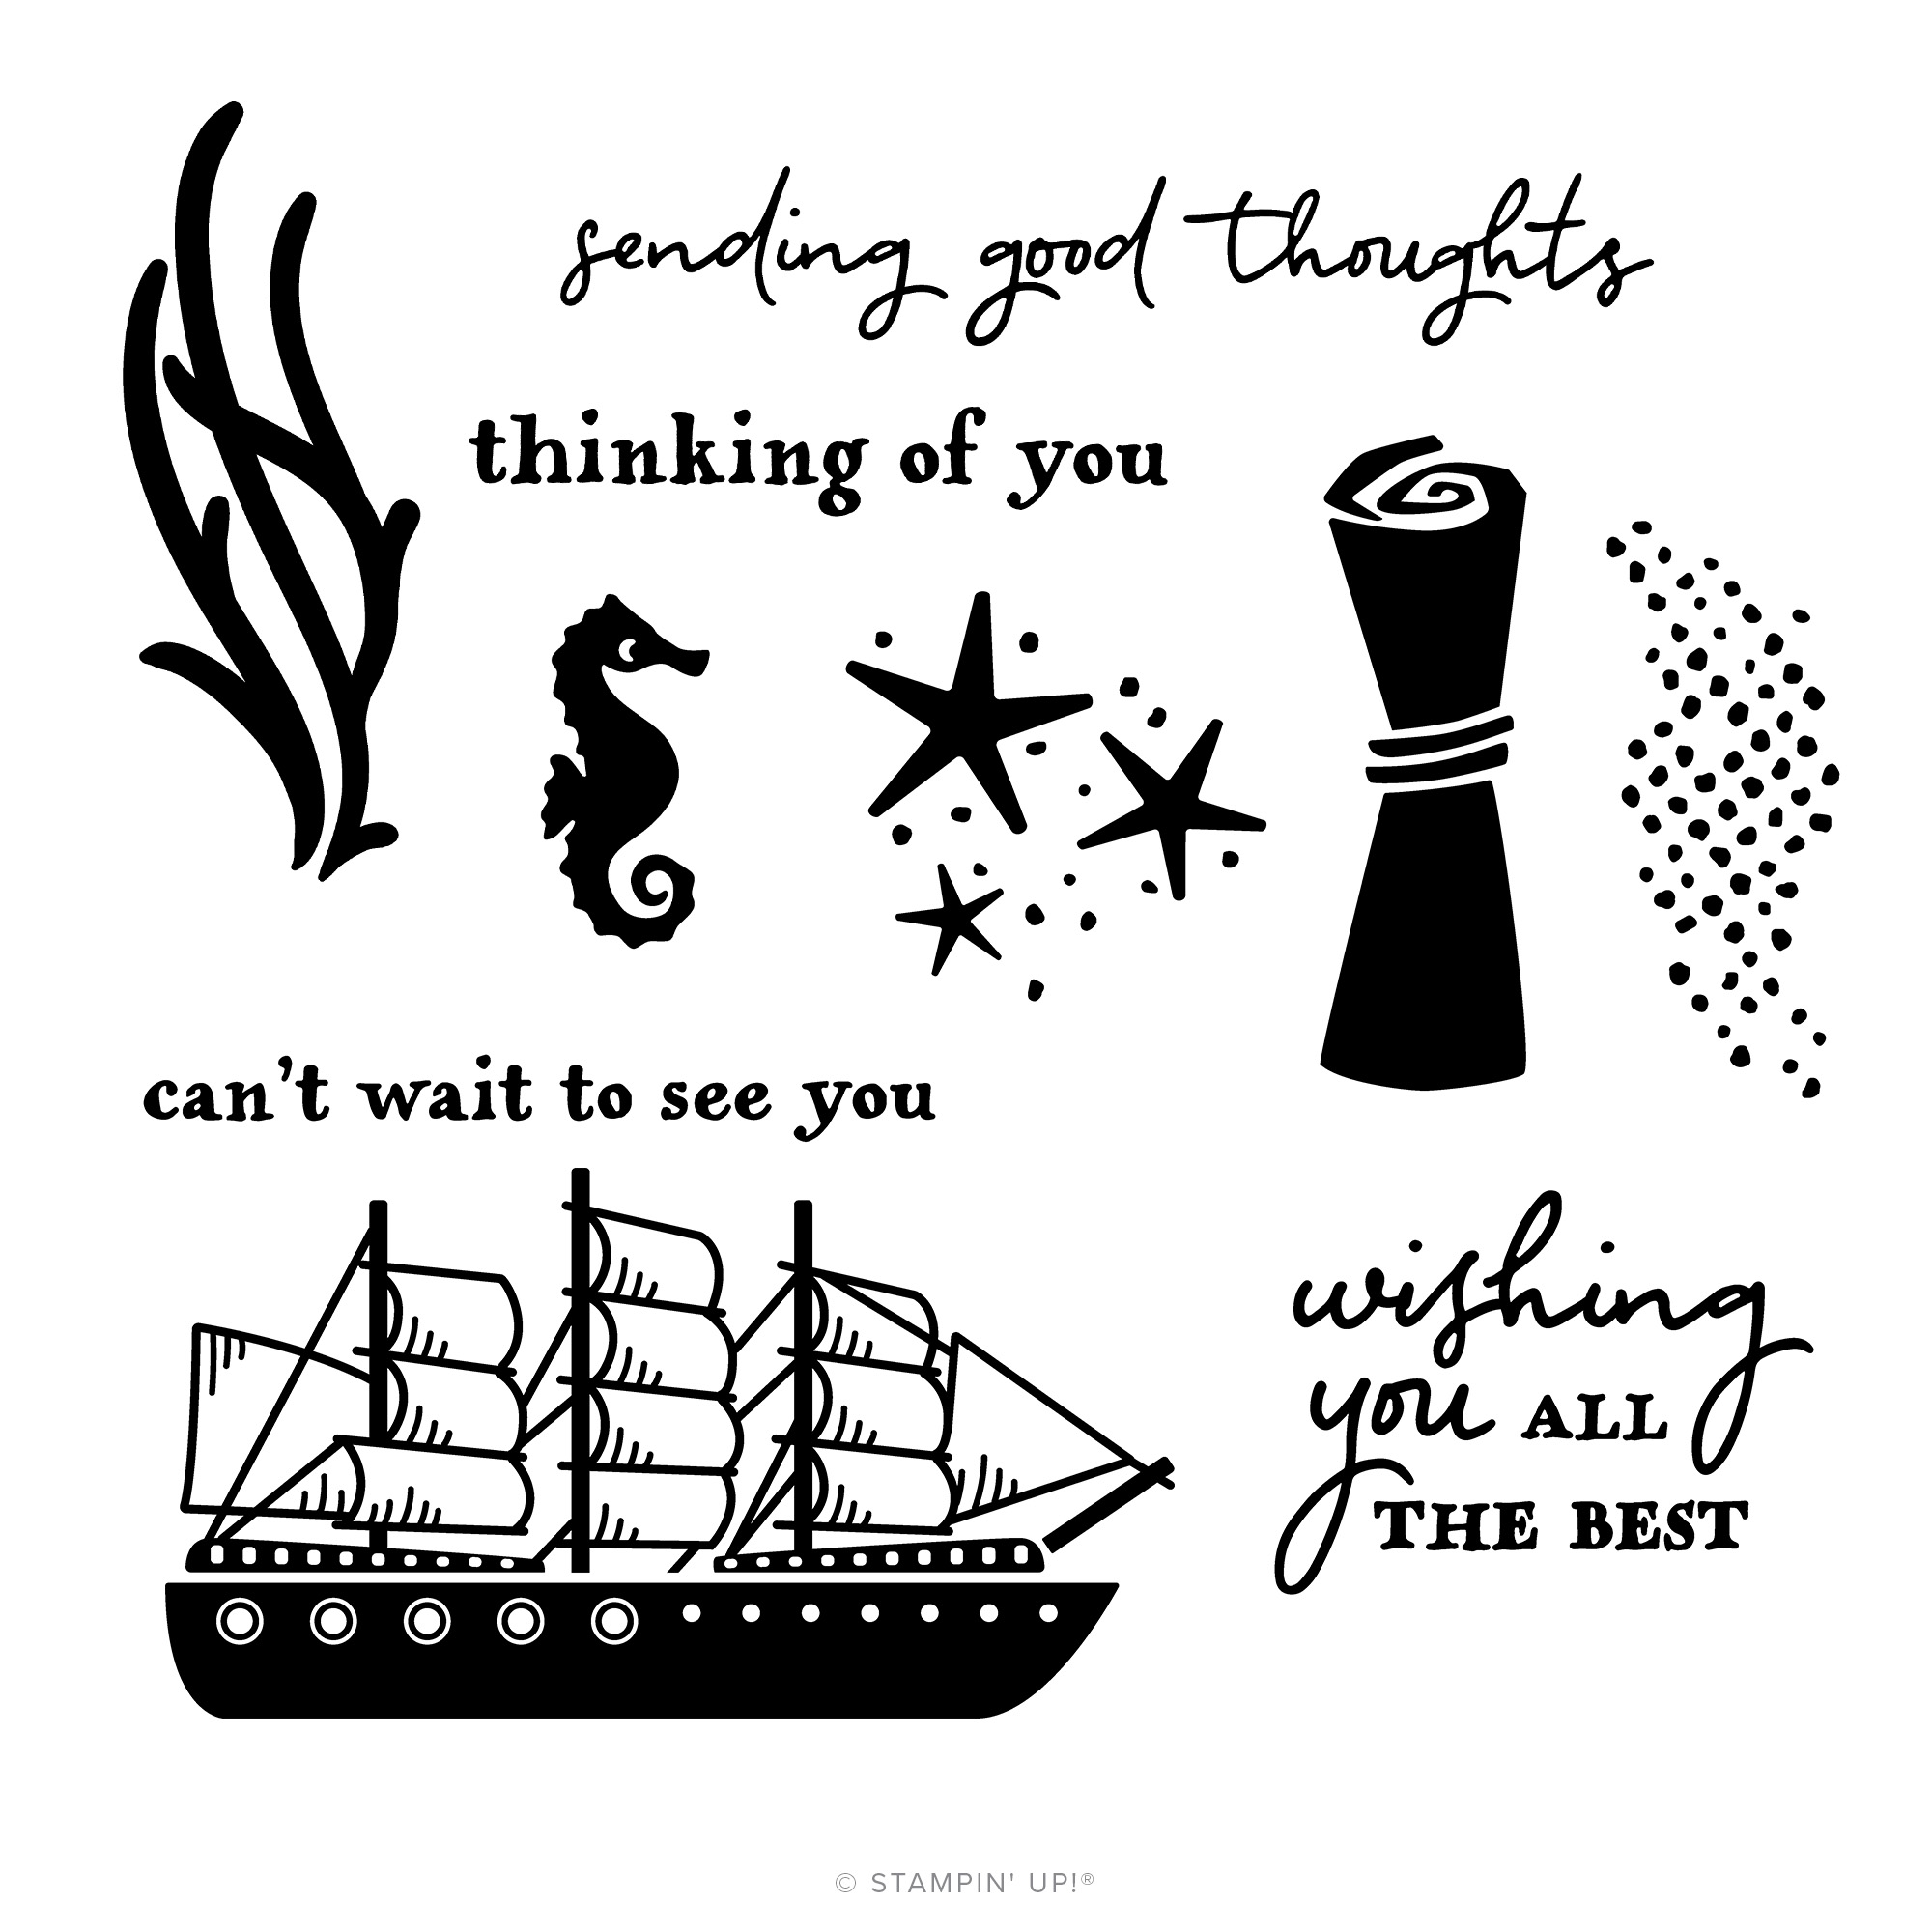
The Kit was called Sending Good Thoughts! So I have to say I was surprised by the name on the paperwork that Stampin' Up! released about the kit. Yes it is a message in a bottle, but that wasn't the name used in advertising the kit. Oh well, no big deal really.

The included stamp set had a lot of fun possibilities. I think the rolled up message also looks like a diploma. That stamp will come in handy next June! What do you think?
The first trio of my cards were cased from a demo who's name I didn't write down and Vy Tran. The first smart cookie suggested sanding the embossed waves, so I used an emery board and did just that.
Vy Tran had the brilliant idea to use an exacto knife to cut along the wave edges and slip a bottle in the cut slit with the message hidden on the bottle. The trick was to only adhere the edges of the wave layer to the card base. That way the bottle will come out easily and return easily.

On the next trio of cards, I dusted off my White Craft ink pad and used a Q-tip to daub on the white ink onto the clouds carefully. Followed by setting the craft ink with my heat tool. That didn't take too long.
Stamped the schooner image on Basic White cardstock with Memento Tuxedo Black Ink and fussy cut them out, then raised on mini dimensionals on top of the bottle punch out. The long skinny tag was also raised on mini dimensionals. Linen twine used for a bow on the bottle neck.

For the trio below, I used the Vintage Bottle Punch and punched out the bottle image to make a template on a scrap of Bermuda Bay cardstock. I could trace the bottle shape on the back of the kit banner punch out that I had stamped on the front with the irregular stamp image. With a 1/4" hole punch, I punched a starting hole inside my tracing on the banner back, so I could fussy cut with my paper snips the bottle shape for the Vintage Bottle Shaker Domes to be inserted.
After inserting and testing for a good fit, I trimmed the shape as needed. When the shape was ready, I peeled off the bottle dome adhesive and attached the shaker dome to the banner. I had a variety of shaker materials I filled the bottle domes with. Then I peeled off the other side of adhesive on the dome. I lay the punched out Bermuda Bay bottle in the opening and used a few small pieces of scotch tape to seal it long enough to apply glue and flip it over to securely adhere to the card front. No chance of the bottle shaker pieces escaping!
The linen twine was doubled and tied into a small bow and affixed with a glue dot. Assorted gems and sequins were applied to the individual cards as shown.

For the final three photos, I used the punch out frames from the kit for the three bottle sizes. I made stencils to extend my ability to have a variety of bottle sizes for additional card making. Then I used either a blending brush or sponge dauber to apply Bermuda Bay ink to the included envelopes and to the additional cards I created as shown below.


I'd love to read in the comments if you would make cards like these. Which is your favorite?
The Deadline is fast approaching for the August Sweet Sunflower Kit. August 10 is the last day to sign up to receive the kit this month.
.jpg)
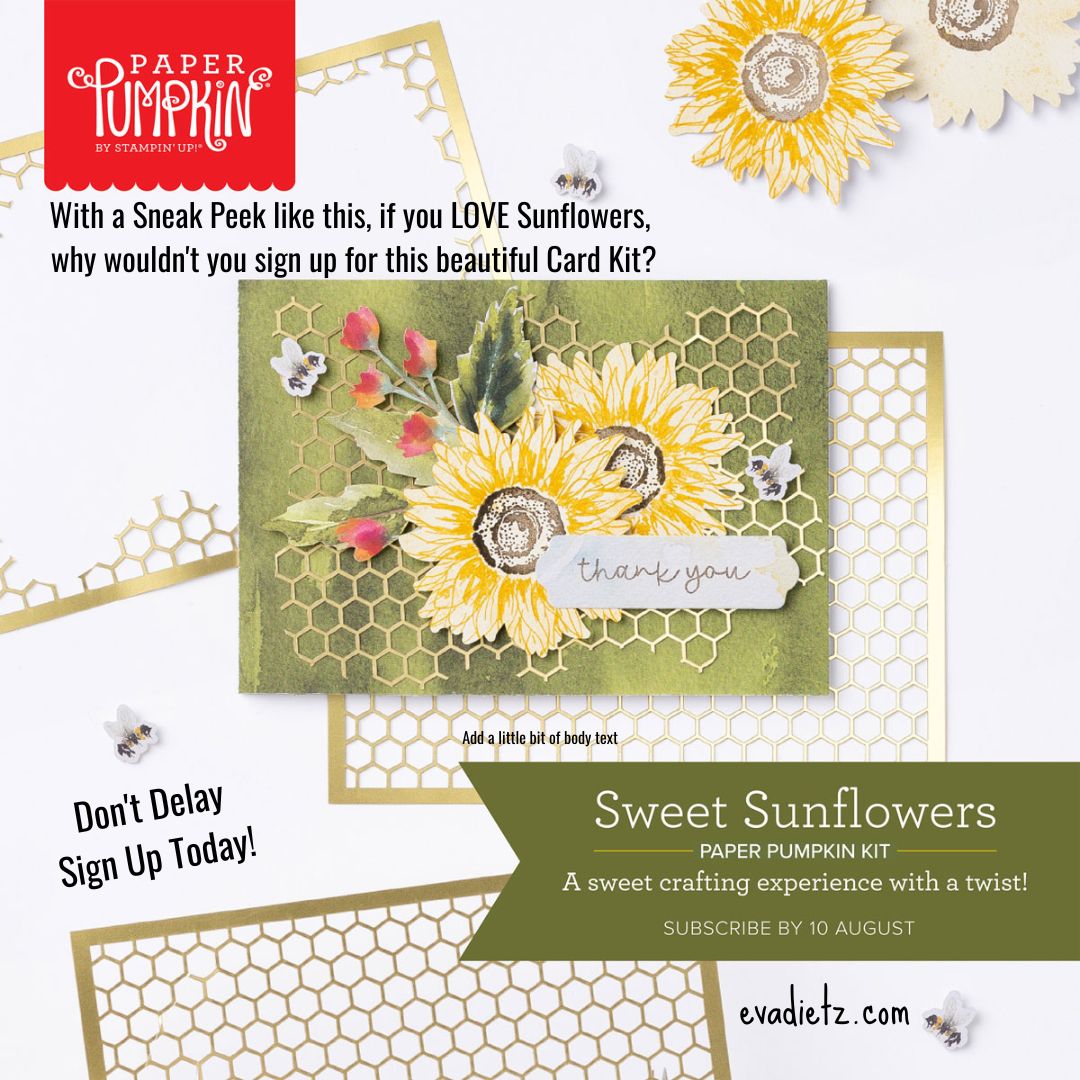
Don't miss out! Click the link below!
Shop or Join at https://evadietz.stampinup.net/
Please contact me anytime if you have any questions
or email me at
stampinwitheva@gmail.com
No comments:
Post a Comment
Thanks for taking the time to leave me a comment! I appreciate hearing from my readers. If you have a question or anything I can help with please let me know. Have a wonderful day!