Pages

Showing posts with label good feelings stamp set. Show all posts

Wednesday, November 16, 2022

The OnStage Experience in Vancouver BC - Part 2

PART 2

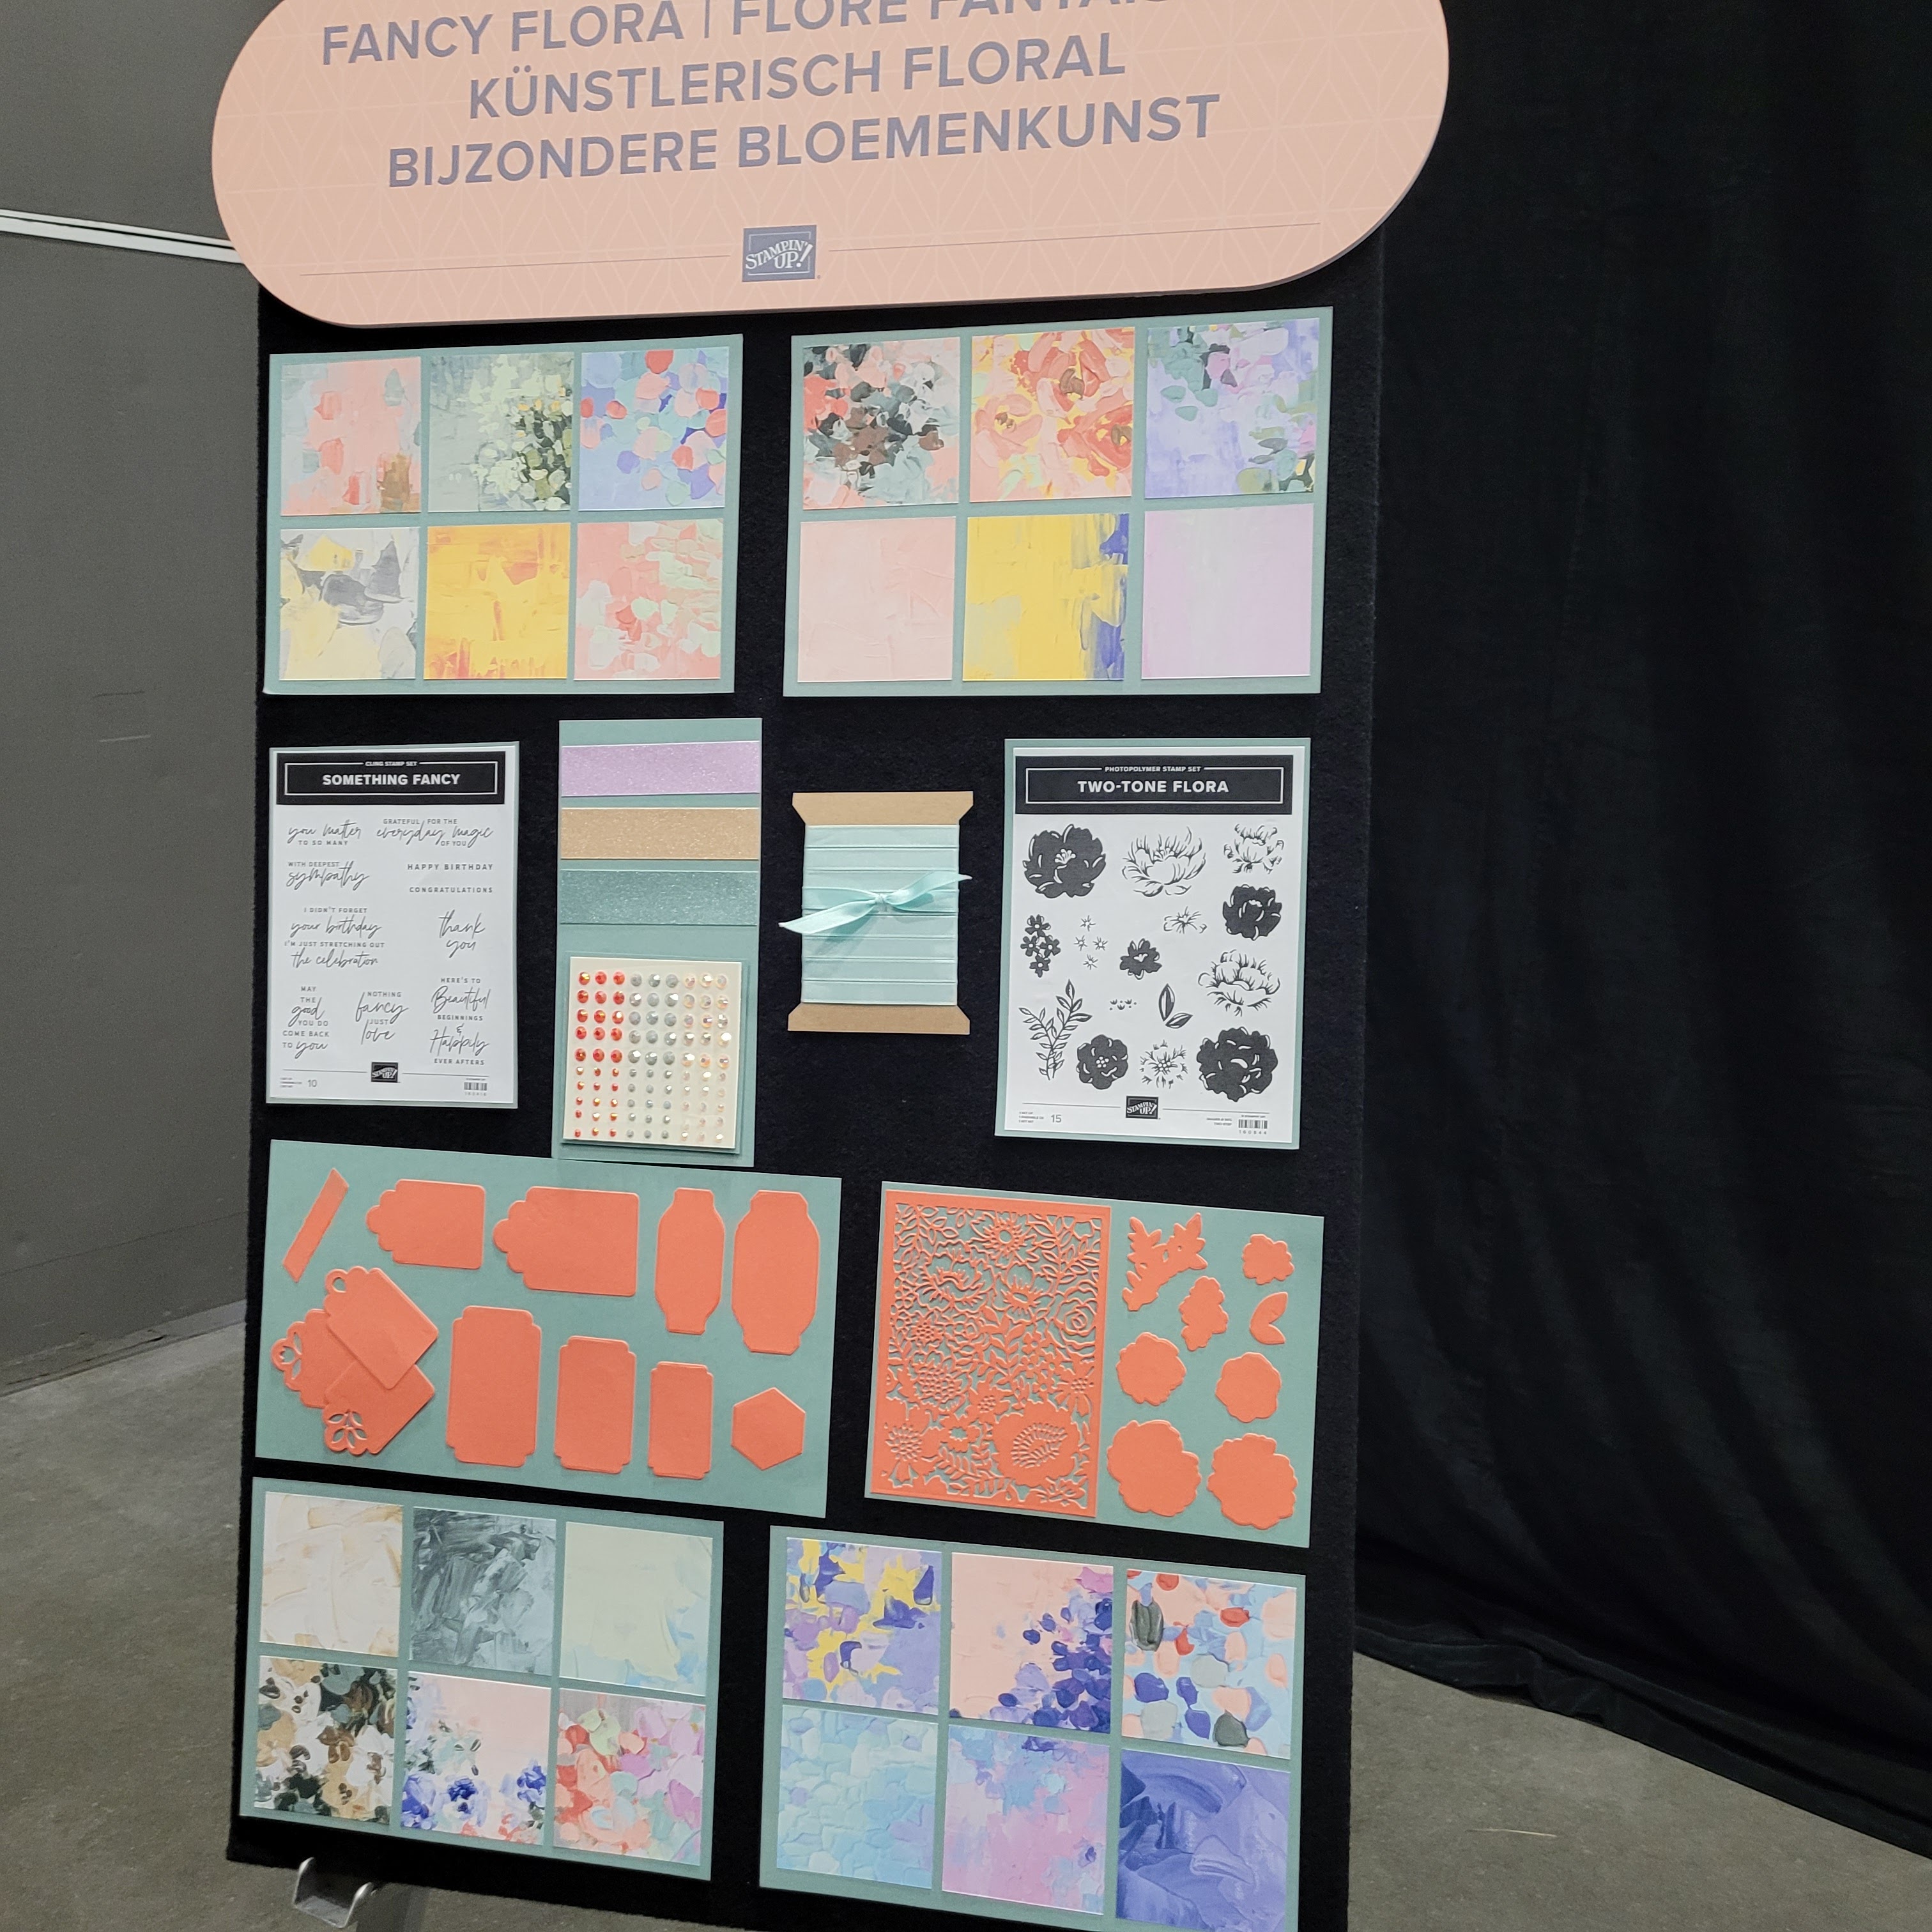
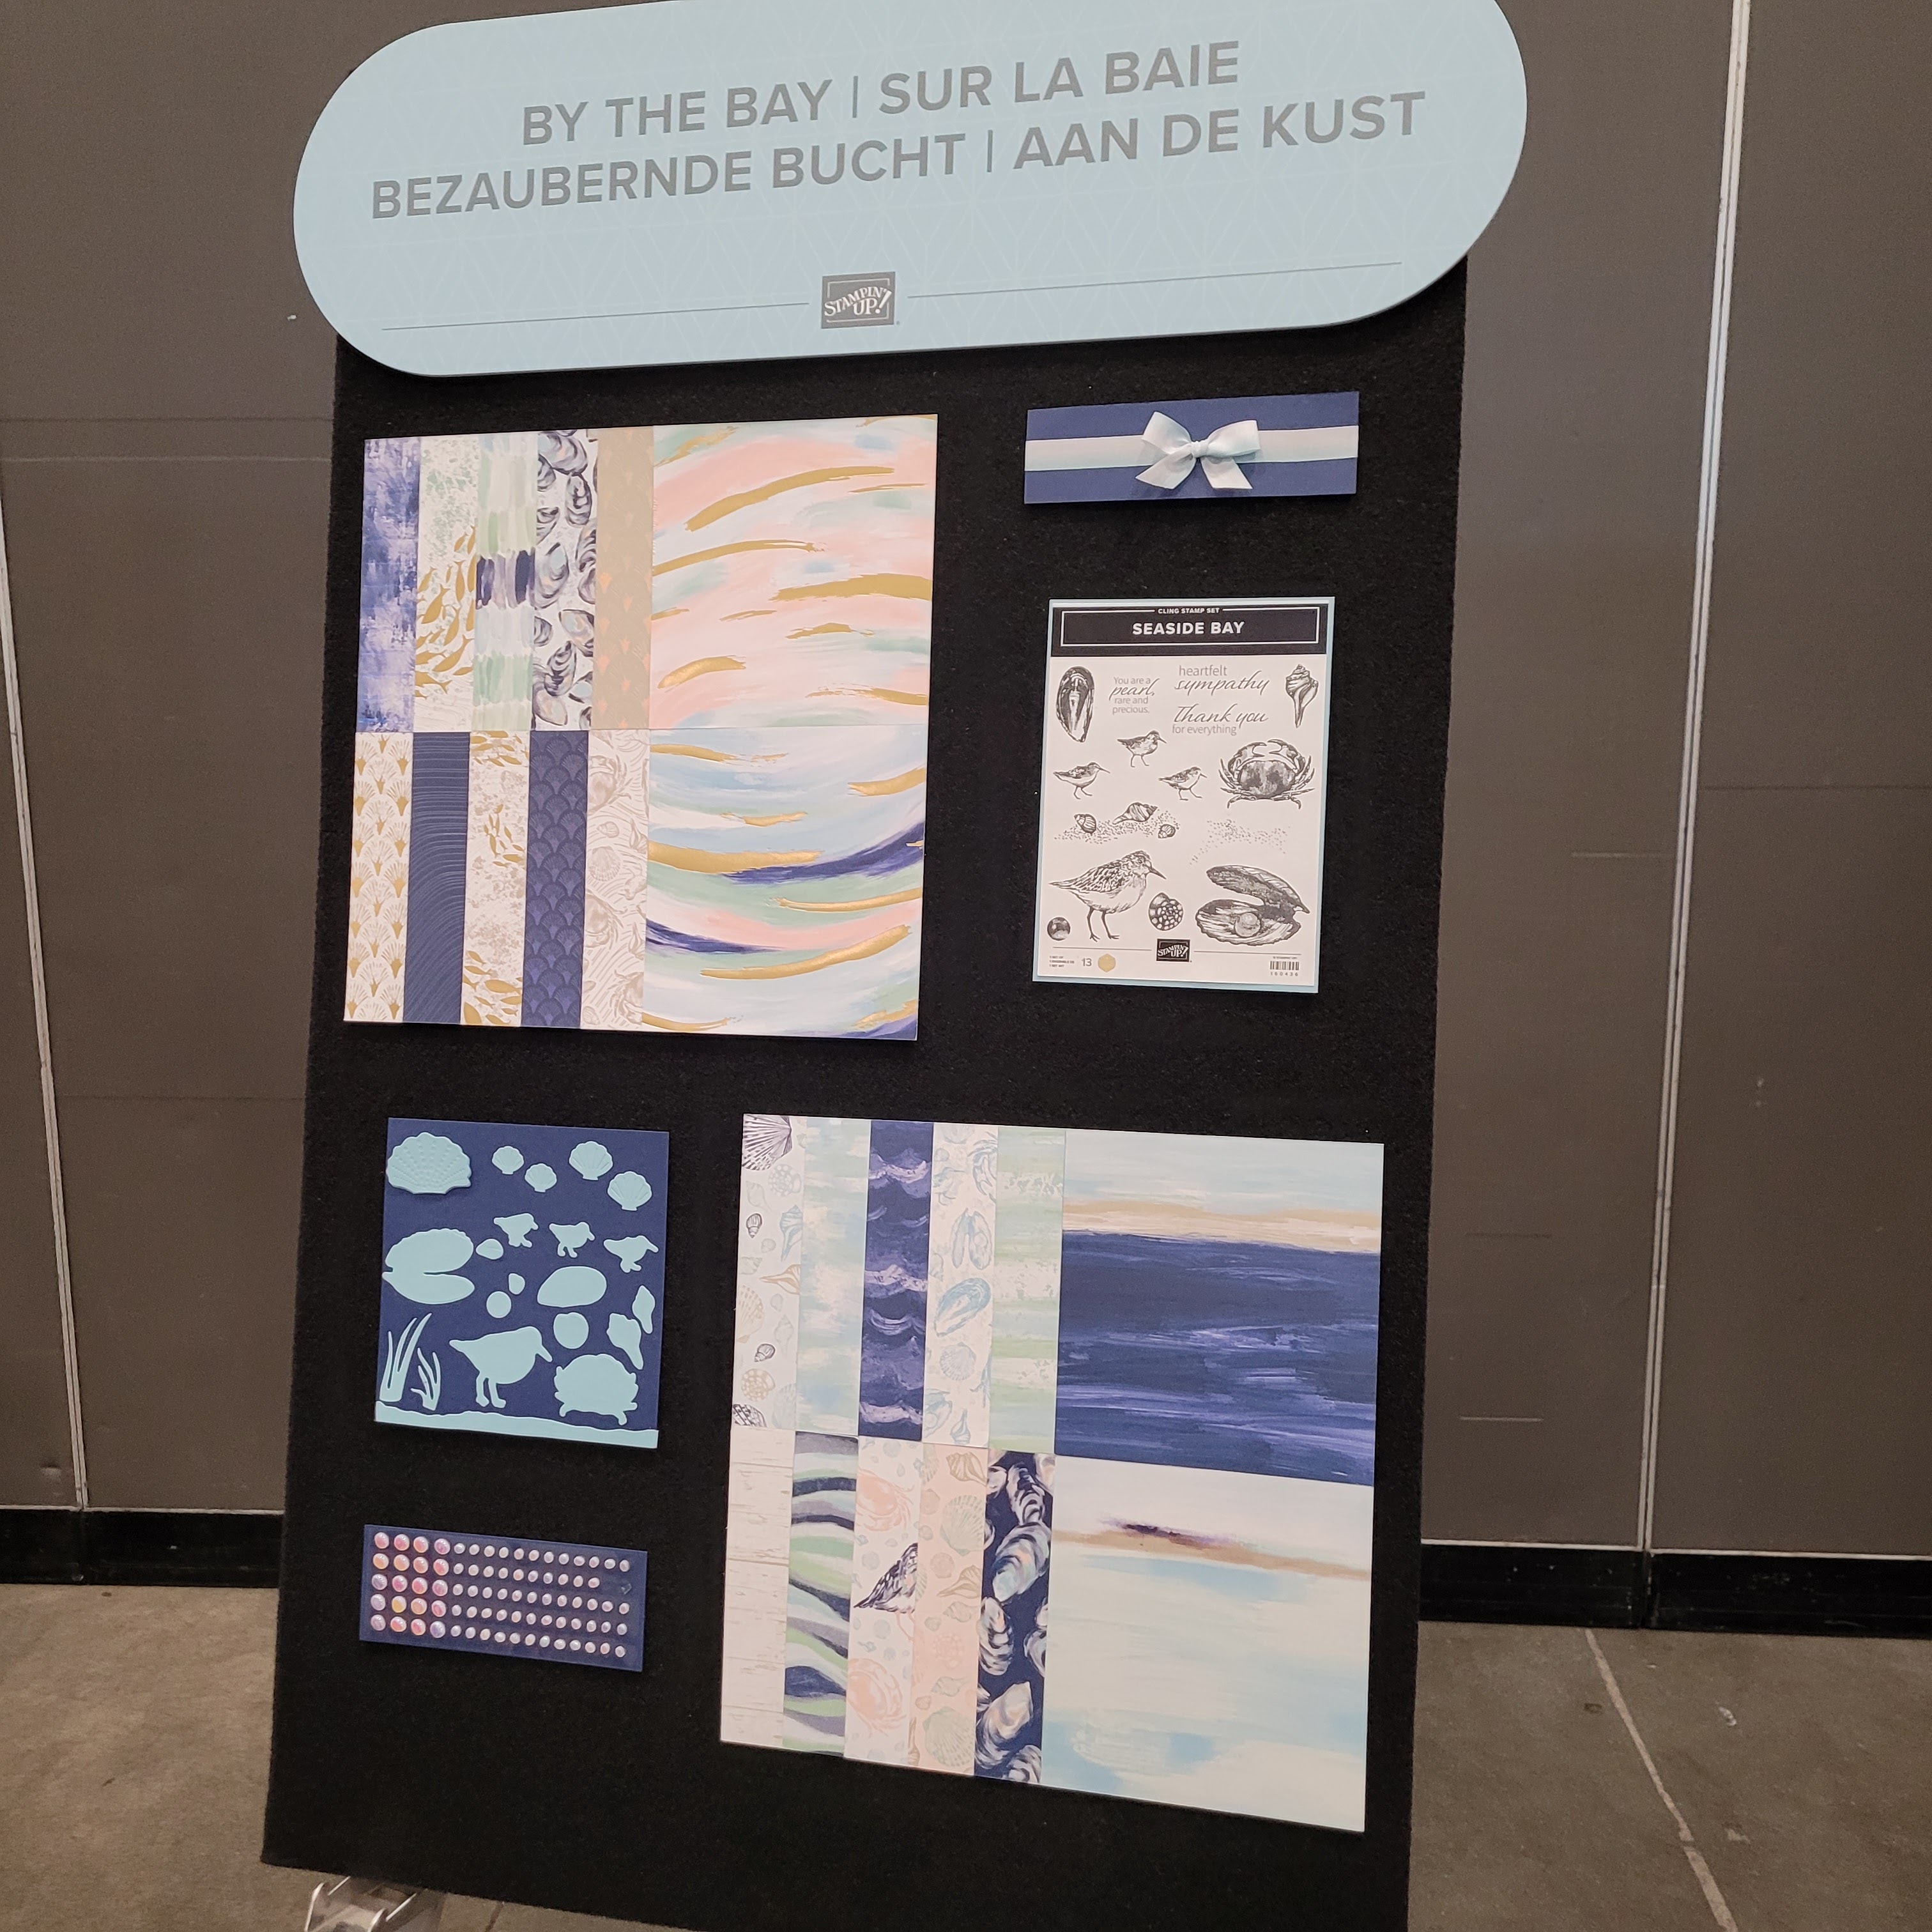
Assorted Display Boards with upcoming products shown.


More Sale-a-Bration choices displayed.


Country Lane Floral Suite above and below


Some of the Demos who attended placed one of their swap cards on the display board.

*********************
My General Swaps - Assorted Designs

Used the Picture This Dies, with the Framed and Festive Stamp Set, Boughs of Holly Designer Series Paper, and the Decorative Circle Punch.

A simple SIP card - Stamps, Ink and Paper!
Thick Basic White Card Base, Boughs of Holly Designer Series Paper, and Season to Remember Stamp Set with Shaded Spruce Cardstock and Real Red Ink. Added Linen Thread.

Flip Flap Fun Fold Gift Card Holder - Soft Suede Card base, Storybook Gnomes Designer Series Paper with fussy cut out Gnomes,  and the Framed and Festive Stamp Set.

Inside peek - gift card goes where I put my business card.

******************
Organized Swap Cards
(held during our lunch break)

A Locking Angled Flip Flap Card - Happy Birthday Card using Sweetest Cherries Bundle, Real Red Cardstock, and Perfectly Penciled Designer Series Paper.

Z Fold Sympathy Card - 2 Color Combinations
Melon Mambo and Daffodil Delight Cardstock. Flowers fussy cut from Hues of Happiness Designer Series Paper, Scalloped Contour Dies, Good Feelings Stamp Set and Inspired Thoughts Stamp Set.


****************
Next blog post I'll be sharing the cards I received while swapping.

Learn how to get more done in less time by signing up for my exclusive "Insider" bi-monthly newsletter. Twice a month the news will share card class information, Stampin' Up! promotions, hot tips from me, and free tutorials! Subscribe to my Weekly Newsletter today. Plus you’ll receive a FREE 14 Card One Sheet Wonder Tutorial to download when you receive my thank you email for signing up.


Please contact me or email me at stampinwitheva@gmail.com if you have any questions about products, techniques, or card designs. Comments below are welcomed too!

Friday, April 8, 2022

Hip Hip Hooray For Good Feelings Week

 Have you enjoyed seeing what the soon to be released Good Feelings Stamp Set can do? I had fun creating these cards for you this week. Be sure to place this stamp set on your wish list so you can order it on May 3, 2022.

There are also some products used in this card that will be retiring on May 2, 2022. They are the Expressions in Ink Designer Series Paper, Magenta Madness Ink, and the 2021-23 In Color Jewels. 


I had to return to this Fun Fold to wrap up the week. Here is another version of the Double Bridge and Flip Card. The "Hip Hip Hooray" is the last sentiment to use in the Good Feelings stamp set.  Even though it was smaller than the rest, it is no less important. Cheering someone on is a big deal! Especially when it is a birthday!


Below is the Bridge portion opened up.


Now you see the interior of the card.


Here is how the card stands for sneak peek inside too.


Products Used in Creating This Card:

#159229 Thick Basic White Cardstock
#146981 Shaded Spruce Cardstock
#155464 Expressions in Ink Designer Series Paper (DSP)
#158737 Good Feelings Stamp Set and #117147 Clear Block B
#152539 Happiest of  Birthdays Stamp Set and #118484 Clear Block E
#153117 Magenta Madness Ink
 #155571 2021-23 In Color Jewels

#159236 Basic White Envelope with matching 2-3/8" x 6" exterior envelope flap

Adhesives - #149699 Stampin' Seal
Tools - #152392 Paper Trimmer, #103579 Paper Snips, #144107 Take Your Pick Tool, and #147042 Simply Shammy.

Cutting Dimensions:
Thick White Card Base:
5.5" x 8.5", score at 4.25"
Slit front at 1.25" up to score line, flip card over and repeat. Match photo.

Bridge:
Thick Basic White - 1.25" x 5.5"
Shaded Spruce - 1-1/8" x 5.5"
DSP - 1" x 5.5"

Side Panels for both outer and inner layers:
Shaded Spruce - 1-1/8" x 4"
DSP - 1" x 3-7/8"

Center Panel:
Shaded Spruce - 2-7/8" x 4"
DSP - 2.75" x 3-7/8"

Thanks for joining me this week to preview the Good Feelings Stamp Set.

If you haven't already, be sure to sign up for my email list and receive a free 14 card One Sheet Wonder tutorial here.

Tuesday, April 5, 2022

A Spring Thank You Card Using the Good Feelings Stamp Set

Welcome to the second day of card layouts using the five sentiments that are part of the new Good Feelings Stamp Set that will be coming in the 2022-23 Annual Catalog on May 3rd, 2022.

Today's card uses the "Thank You!" stamp in combination with the Flowering Fields Designer Series Paper.


This split front technique is super easy. Give it a try!


Cut two pieces of the Flowering Fields Designer Series Paper 4" x 5.25" from the same patterned sheet. Then cut one on the diagonal as shown with your paper trimmer. FLIP the other 4" x 5.25" piece over to the opposite side, then cut the diagonal just like you did the first piece. Then you will have enough pieces to create this matching front for TWO cards! The only difference is the other card front will have the tulips on the upper right and the solid purple on the lower left.


Used a 5/8" x 5.25" strip of the Flowering Fields Designer Series Paper to affix and accent the Basic White cardstock layer cut at 4" x 5.25".  Makes the inside look pretty!


Cool Tip!  It is hard to see, but the Thank You is stamped in Blackberry Bliss Ink and immediately covered with Clear Embossing Powder. Use the Heat Tool to set and the words become shiny! It's like I really had Blackberry Bliss embossing powder. 

Products Used in this Card:

#133675 Blackberry Bliss cardstock 5.5" x 8.5", scored at 4.25" and a 3" square scrap for the round tag

#157670 Flowering Fields Designer Series Paper - two pieces cut 4" x 5.25" from the same pattern sheet. Plus a 5/8" x 5.25" strip for the inner card layer edge as shown in the photo.

#159276 Basic White cardstock - one piece cut 4" x 5.25" for inner layer and a 3" square scrap for the round tag

#158737 Good Feelings stamp set - Thank You! cling stamp on a #118485 Clear "D" Block  
#147092 Blackberry Bliss Ink
 #155554 Clear Embossing Powder and #129053 Heat Tool

#151770 Layering Circle Dies in two coordinating sizes to cut the stamped tags with the #150673 Mini Cut & Emboss Machine

Embellish with two #154571 Pastel Pearls 

#159236 Basic White Envelope with 2-3/8" x 6" piece of Flowering Fields Designer Series Paper to affix to exterior of envelope flap with Stampin' Seal. With Paper Snips trim off excess.

Adhesives - #149699 Stampin' Seal, #104430 Dimensionals
Tools - #152392 Paper Trimmer, #144107 Take Your Pick Tool, and #147042 Simply Shammy.
**************

I work hard to make these detailed blog posts for you. You can show your support by placing an online order with me. Purchase the items you need now (except for the stamp set) by copying and then pasting the item number into the search box in my online store. That is the fastest way to navigate the store. Purchase items HERE.

If your order is over $50 please use the host code here to receive an extra gift from me!

Let me know in the comments if you have ever made a card with this split front technique. I hope you will give it a try!

Monday, April 4, 2022

Introducing the Good Feelings Stamp Set

As a demonstrator one of the perks you get is to see the new catalog early and be able to order some of the products. When I do this, I get so excited! I can get a head start of designing cards for all of you! 


I love the new stamp sets I've seen and this Good Feeling Stamp Set #158737 will be available to customers starting May 3rd, when the 2022-23 Annual Catalog goes LIVE! Starting today through Friday, I'll be sharing card ideas using all the stamps in this fun set. 


Today we are starting off with the largest stamp in the set. I love this saying! It is perfect for any occasion really. Get Well, Happy News, A New Job, you get the idea.


Every product I've used in this card will continue into the new catalog except for the Pattern Party Designer Series Paper.  The great thing about card layouts, you can substitute with some new Designer Series Paper that will be in the new catalog.


Tried out the idea of using the Stitched with Whimsy Dies for the inner card liner to add some pizzazz to the inside. These stitching lines give a whole new meaning to "margins"!


Products Used to Make this Card:

#153081 Misty Moonlight Cardstock 5" x 8.5", scored at 4.25" and Ink, plus one scrap 1" x 3"
#155426 Pattern Party Designer Series Paper 4" x 5.25", plus one scrap 5/8" x 3"
 #141416 Flirty Flamingo Cardstock 2-7/8" x 3-5/8"
#159276 Basic White Cardstock 2-5/8" x 3-3/8" and for inner liner 4" x 5.25"
#158737 Good Feelings Stamp Set
#155314 Stitched with Whimsy Dies
#153608 Banners Pick a Punch
#158136 Brushed Brass Butterflies
#151326 Crinkled Seam Binding Ribbon
#159236 Basic White Envelope with matching 2-3/8" x 6" exterior envelope flap

The Corner Rounder I used is a Creative Memories tool that is quite old. If you happen to own the Stampin' Up! Envelope Punch Board, it has a corner rounder built in. You may have another corner rounder in your collection you can use.

Adhesives - #149699 Stampin' Seal, #104430 Dimensionals, and #103683 Glue Dots
Tools - #152392 Paper Trimmer, #103579 Paper Snips, #144107 Take Your Pick Tool, #149653 Full size Cut and Emboss Machine and #147042 Simply Shammy.

I want you as a customer! Purchase the items you need now (except for the stamp set) by copying and then pasting the item number into the search box in my online store. That is the fastest way to navigate the store.  Shop here.

If your order is over $50 please use the host code here to receive an extra gift from me!

If you'd like to watch my Instagram Reel on the making of this card that I posted April 3, 2022, visit this link https://www.instagram.com/stampinwitheva/

I encourage you to come back here to see more fun and easy card layout ideas using the Good Feelings set this week!

Thanks for stopping by!